Pool Installation Process
13 Step Pool Installation Process

Step 1:
Firstly, we willl have one of our friendly pool dealers come out to your home to evaluate the site. They'll be looking at the positioning, access, and pool requirements.

Step 2:
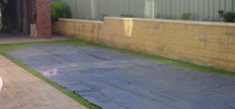
Next, a template of the pool is laid out where it will go in your backyard to create the shape of the pool.

Step 3:
From the template, measurements are checked and squared up to ensure that they are in the perfect position relating to the house and other structures in the backyard. Once everything is precisely where it needs to be, the ground can start to be excavated to make way for your new pool.

Step 4:
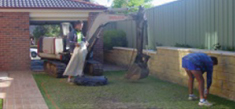
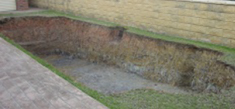
The pool site is dug, and once this is done the excavated materials will be removed from the site.

Step 5:
Next, the base is laid and screeded. Then it is set to height for the pool to be positioned on.

Step 6:
We will have a crane set up and ready to lift your pool into position. The pool may be needed to be lifted over the home in the process.

Step 7:
The pool will be hooked up to the crane and then lifted.

Step 8:
The swimming pool will be lifted over the roof of the house.

Step 9:
The pool is lowered into its designated position by the crane and tradespeople on the ground.

Step 10:
Before the crane is unhooked, the position of the pool will be checked, measured, levelled and squared.

Step 11:
Once the pool is positioned, the pipework, lights, and filters can be installed. After this, the backfilling process can commence.

Step 12:
The concrete slab/bond beam is prepared and poured for the tiles or pavers to be installed on.

Step 13:
The coping tiles/pavers are laid then your pool is filled with water and balanced.
